In this tutorial, I’m going to show you how to create email accounts in cPanel. It’s an exceptionally quick process and can be done in less than a couple of minutes.
When you set up a website, you have the ability to create email addresses using your domain. Instead of sharing a gmail.com account, you can proudly display the site with an address at yourdomain.com.
Table of Contents
Why Use Domain Specific Email Addresses
A lot of web filters are set up to block messages from web-hosted domains. For instance, some filters are set up to block hotmail.com and yahoo.com from flooding into an inbox.
This is because free web-based email is often used by questionable people to spread spam and malware.
Domain addresses also denote a sense of professionalism. People are more likely to trust joe@ggexample.com over joe@yahoo.com. Think about it, would you trust an important message from PayPal or your bank if it came from @gmail.com?
Create Email Accounts from cPanel
- Log in to the cPanel.
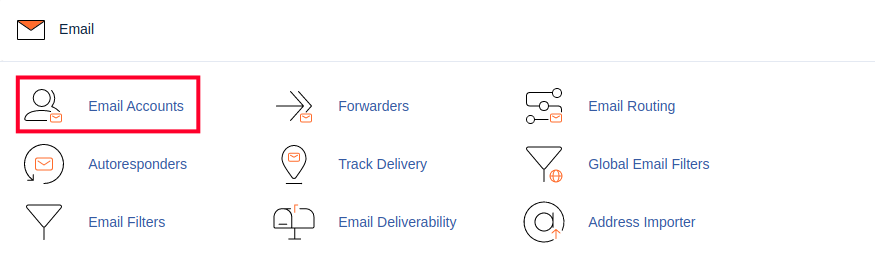
- Click the Email Accounts icon in the Email section.
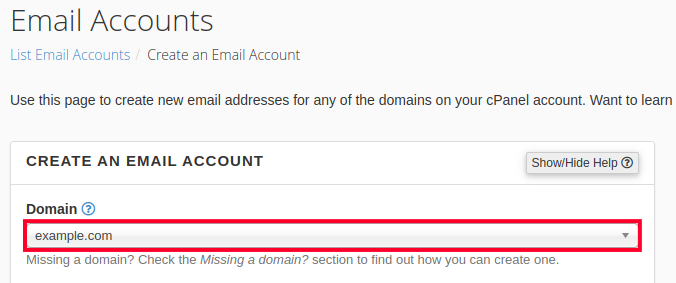
- You will then see the Email Accounts page. If any accounts already exist then they will be listed here. Click on the button labeled Create.

- The Create an Email Account section will be displayed. Select the Domain that you want to use for the email account. If you have multiple domains on this account, then you will be able to click on the drop-down menu to select a different domain. If you are using only one domain on the account, then only that domain will appear and you can move to the next step.
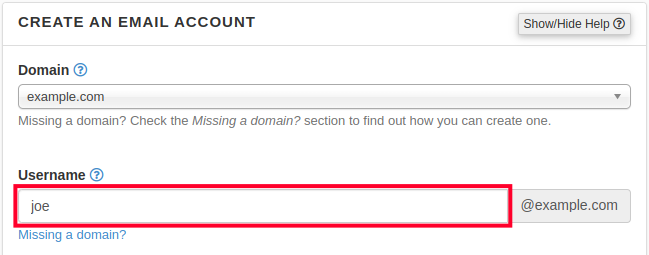
- Type in the Username that you want to use. The domain name is automatically appended based on the domain that you have selected. Note that you can only use letters, numbers, periods, hyphens, and underscores for the name. The user name can only be up to 64 characters long.
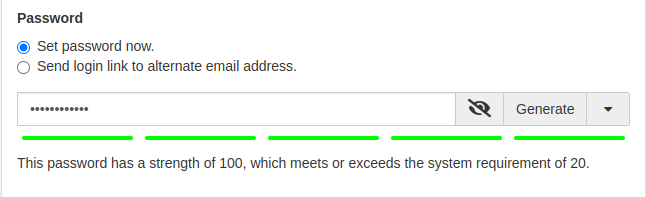
- The next option is for setting the password for the email account. You can choose to Set password now or Send login link to alternate email address to send an email for them to set their own password. There is also a Generate option that allows you to randomly generate a secure password.
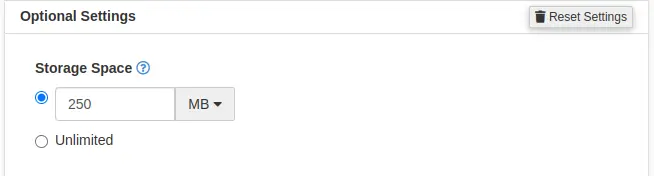
- The next are optional settings. Click the Edit Settings button to access them.
- Set the Storage Space. By default, the value is set to 250 MB. This space is the amount of space that the email account can occupy on the server. You can set this to a particular number or you can click on Unlimited.
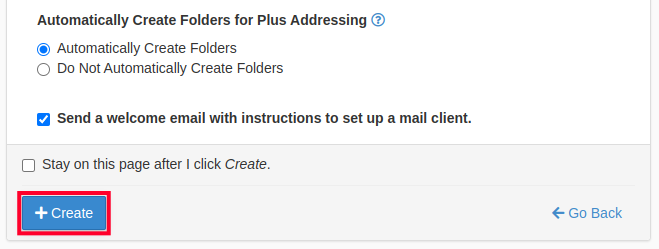
- After you set the storage space for the email account, you will see an option named Automatically Create Folders for Plus Addressing. This option allows for folders to be created automatically if they are using Plus Addressing. You can also set it to not create folders.

- You can also opt to send a welcome email that instructs your user on how to setup a mail client. By default, this option is checked. If you don’t want to send the email, then simply uncheck the box.
- Click on the blue button labeled CREATE in order to create the account. If you wish to stay on the same page after the account is created, then check the box labeled “Stay on this page after I click Create.”