Managing websites with Webuzo is streamlined, with a user-friendly interface designed to simplify server and website management. Here’s a step-by-step guide to help you get started:
Website Management with Webuzo
Table of Contents
1. Login to Webuzo
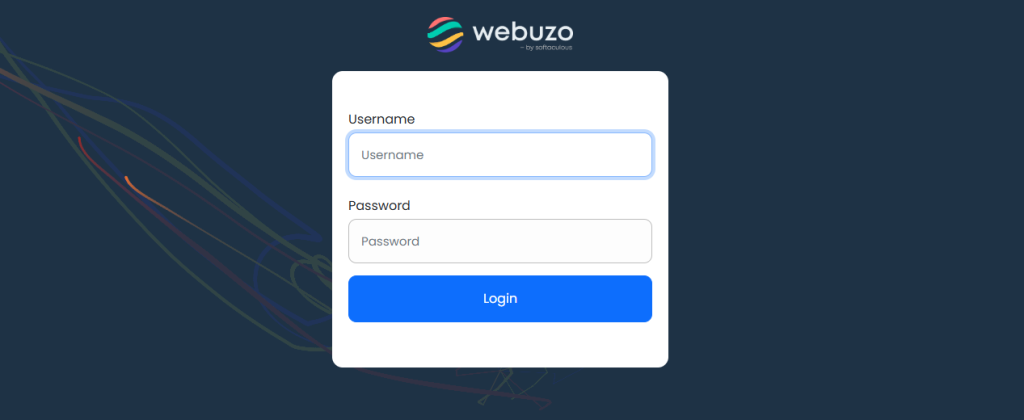
- Access your Webuzo control panel by navigating to
http://yourdomain.com:2002(replaceyourdomain.comwith your actual domain). - Enter your username and password to log in.
2. Dashboard Overview
- Once logged in, the dashboard presents a comprehensive view of your options. You’ll see sections for managing domains, applications, databases, files, and server configurations.
3. Adding a New Domain

- In the Webuzo dashboard, go to Domain > Add Domain.
- Enter the domain name and the directory where you want to install it (default is often the root directory).
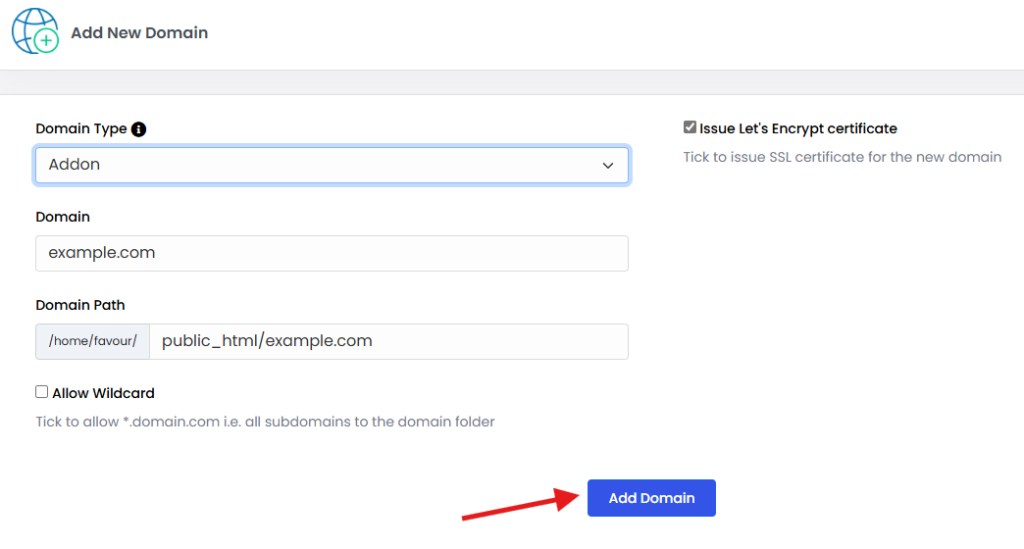
- Click Add Domain to complete the setup.
4. Installing Applications

- Webuzo includes a variety of applications (like WordPress, Joomla, and Drupal) that you can install with a single click.
- Navigate to Applications > Install Applications.
- Choose an application from the list, configure installation details (such as admin username and password), and follow the prompts to complete the installation.
5. File Management
- You can manage your website files directly from Webuzo.
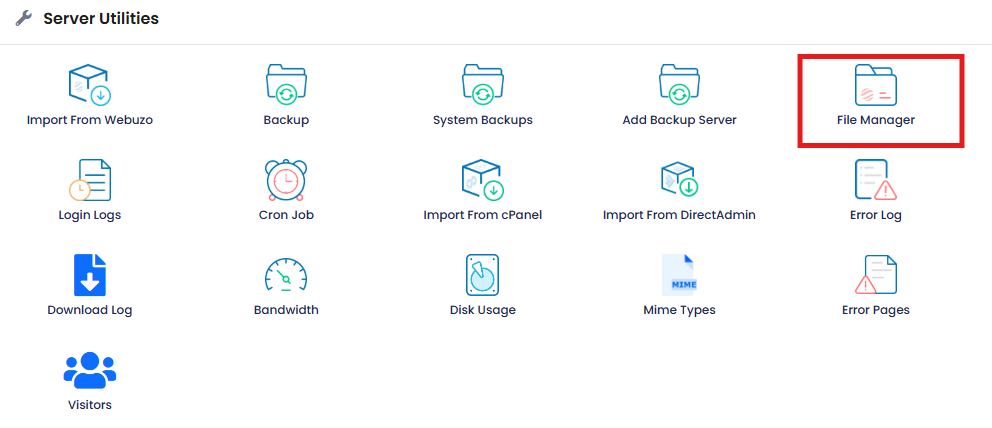
- Go to File Manager under Server Utilities.
- This tool lets you upload, delete, and edit files within your server without needing FTP software.
6. Database Management
- If your website requires a database, you can create and manage it through Webuzo.
- Go to Database > Manage Databases.
- Here, you can create a new MySQL or SQLite database and manage users and permissions.
7. Setting Up Email Accounts

- Webuzo allows you to create email accounts associated with your domain.
- Navigate to Mail > Email Accounts.
- Set up new email addresses, manage mail forwarding, and adjust other settings to keep communication centralized.
8. SSL and Security Management
- To enable SSL, go to Security > SSL Certificates.
- Webuzo supports both free SSL certificates (like Let’s Encrypt) and paid ones. This protects your website’s data and improves user trust.
9. Server Configuration and Monitoring
- Webuzo includes monitoring tools that allow you to check server resource usage, such as CPU and RAM, to ensure optimal performance.
- You can access this under Server Settings > Resource Monitor to view server performance stats.
10. Regular Backups

- Make sure to back up your website data periodically.
- In Webuzo, you can create and manage backups under Server Utilities > Backups to ensure you have a restore point if needed.
By following these steps, you can efficiently manage your websites with Webuzo, whether you’re adding domains, installing applications, or monitoring server performance!